Renovate Your NOCO Home


our process

Stress Free, Reliable and efficient

Step 1:

Design Phase

Working with the homeowner to make all design selections for the agreed upon project scope including progressive & final layouts, and special drawings for vendors & permits to create a realistic budget and plan of action to start.

Step 2:

Rough-In Phase

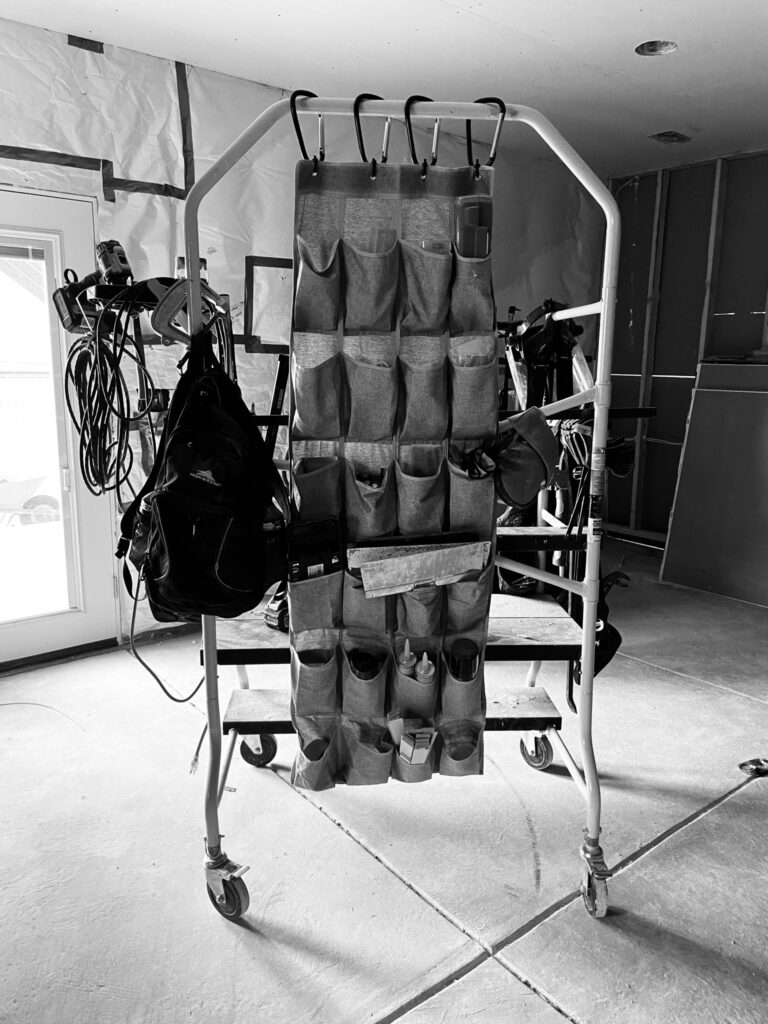
This phase tends to be one of the most important parts of a renovation project. It begins with the demo of the project area to allow for corrections, updated layouts and upgrades behind the walls or floors of your home to framing, plumbing, electrical & HVAC. Having these changes properly inspected is essential to moving to the next phase of the project to meet local regulations, for safety and quality control reasons.

Step 3:

Finishing Phase

This is the exciting part! This is where you finally get to see your vision come to life! All the hard work and patience begins to pay off. Drywall, flooring, cabinets & trim go in and everything begins to look like a home again. We love to see this transformation!

why choose us

we are setting the standard of how home improvements should be.

At 3 Tree Design House, our process is not only a full red carpet experience, but its also designed to be empowering and educational for the homeowner.  First, we make it our priority to listen to your questions, concerns and ideas.  Then, we create a 3D design rendering that implements creative solutions and allows you to truly visualize the renovation ideas you conveyed.  Finally, we support and provide service to you before, throughout and after your renovation.  We are here for all questions and concerns during the design and build process. 

THE RED CARPET EXPERIENCE

Customer Web Portal – 24/7 access to Project Information

Thoughtful Scheduling & Job-site Quality Control

Custom curated quality materials – Personalized for Each Client

Access to vetted licensed vendor list & free cost estimates

3D Visual Renderings that make renovation decisions easy 

Prep & Demo

Here are some prep and demo suggestions, from 3 Tree Design House, that can help your remodel go more smoothly with less pressure and stress.  Understanding that a remodel is a major undertaking that may involve the loss of the use of your kitchen, bathroom, basement, and/or floor area can be made easier when you plan accordingly.

1. Take “before” picture.

2. Let your neighbors know about the remodel.

3. Decide if you will need outside storage or if you can move articles to another area of your home. Then pack up belongings in the area of the remodel. This may include clearing closets, cabinets, shelves, counters, rugs, etc.

4. Talk to your contractor regarding the movement of furniture and appliances.   If the homeowner is responsible, be sure to have all furniture and appliances cleared out of the remodel work area prior to construction.   Consider asking a plumber to disconnect appliances such as the dishwasher and refrigerator.  Then sweep or vacuum the area.

5. If you are installing a floor, look for water damage, squeaks, and uneven areas in your current floor.  Be sure to inform your subcontractor. 

6. Decide who will be responsible for providing access to the subcontractors.  This can be the homeowner, friend or neighbor.  It is also possible to use lock boxes and alarm codes if an adult cannot be present.

7. Have a plan for children and animals that will keep them safely away from the construction area.

8. Have a clear path from the entrance of your home to the work area.

9. Provide an area for cutting – preferable a garage or covered porch.

10. Have a designated bathroom or portajohn for workers.

11. Have your driveway cleared of all vehicles. Have a plan for parking work trucks and trailers that will allow easy access to your home. Be sure to remove all snow from access areas.

12. If you are doing your own demolition, talk to your contractor to determine expectation of demolition. Keep the following in mind.

a. You may need to turn off electricity, water and gas to the demolition area.

b. Rent a dumpster.

c. Put a drop cloth over the floor.

The term, rough-in, refers to the point when plumbing electrical and mechanical lines are laid out in your home.  The rough-in stage of construction can begin once the framing of the project has been completed.   Final connections are not made until later in the project.

The mechanical rough-in is installing the home HVAC system including ductwork behind the drywall or under the floors. 

Plumbing rough-in includes both gas line and water installations. All gas lines to appliances, cold-water pipes and hot-water pipes are installed after the mechanical rough in is complete.  The pipes will be capped off until later on in the remodel.

The wiring is not connected to any switches, outlets, or devices at this stage. Electrical rough-in includes laying out lines, mounting junction boxes, pulling wiring, grounding, and setting up the electrical panel in most cases.

Once the rough-in is completed, it must be inspected and approved by the city and/or county.  Once the inspection is complete,  the project can move on to the next stage of construction.

Installation is the fun part of the remodeling process.  Installation includes hanging the drywall and cabinets.  Flooring, tile and countertops are put in along with the plumbing fixtures, electrical trim, trim/moldings and paint.  This is the homeowner’s opportunity to see their remodel come to life and the light at the end of the tunnel.

Quality control concentrates on construction quality where the finished product, your remodel, is beautiful and has products that age well and stand the test of time. Achieving quality in construction is a tradition at 3 Tree Design House where there is pride in everything we design, create and finish.

1. Quality control is important because it is the foundation of your project’s success.. We believe in building it right the first time. From the beginning of the project until the end, quality always remains at the forefront at 3 Tree Design House.

2. Quality control goes along with cost control. With advanced planning and set standards, we reduce the risk of making costly mistakes once construction begins. 

3. Focusing on quality control improves the safety of a project. Mistakes not only cost a lot, they can become safety hazards. Oftentimes, mishaps are preventable with an attention to detail and a dedication to completing work right the first time. 

4. You don’t want to go through a construction project only to end up with mediocre results.  Quality control in construction gives you the best possible outcome. At 3 Tree Design House we believe that quality is the cornerstone that can make or break a construction project. 

5. It is important to allow time for your project to go through this stage of the process.  The more time you allow the contractors to fine detail their projects at the end, the better the results will be.  When you get to the end of a project it is tempting to want it to just be done, but putting pressure to rush on a contractor only leads to reduced effort and time on your project. 

Trusted In Colorado Since 2015

10+

years of experience

Our Remodeling tips for Every Homeowner

  • Don’t wait for an emergency. Learn the location of all plumbing shut offs, including under & main ASAP.
  • Don’t DIY licensed work, like plumbing or electrical; it can create issues with your homeowner’s insurance in the event of a claim, best to leave this work to the experts.
  • Turn off the whole house air system & cover vents when doing dusty projects to prevent dust from traveling through your home. Change furnace filters often during and after your project.
  • Utilize recycling centers to avoid trash fees, especially for concrete & reusable materials.
  • Home inspections & roof inspections are great to take care of when you are in the planning stages of cosmetic remodel projects. It is important to protect your investment and prevent any potential issues from affecting your new space.

If HGTV came to your home tomorrow and offered to change one thing, what would you choose?

Let’s make it happen!